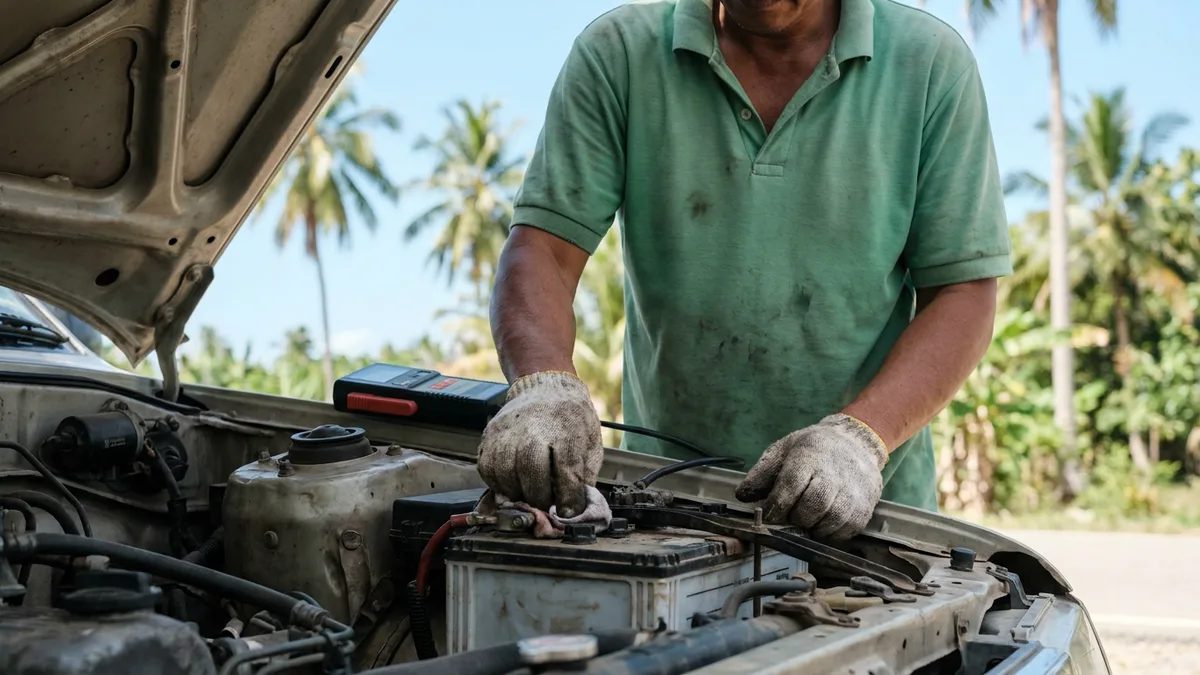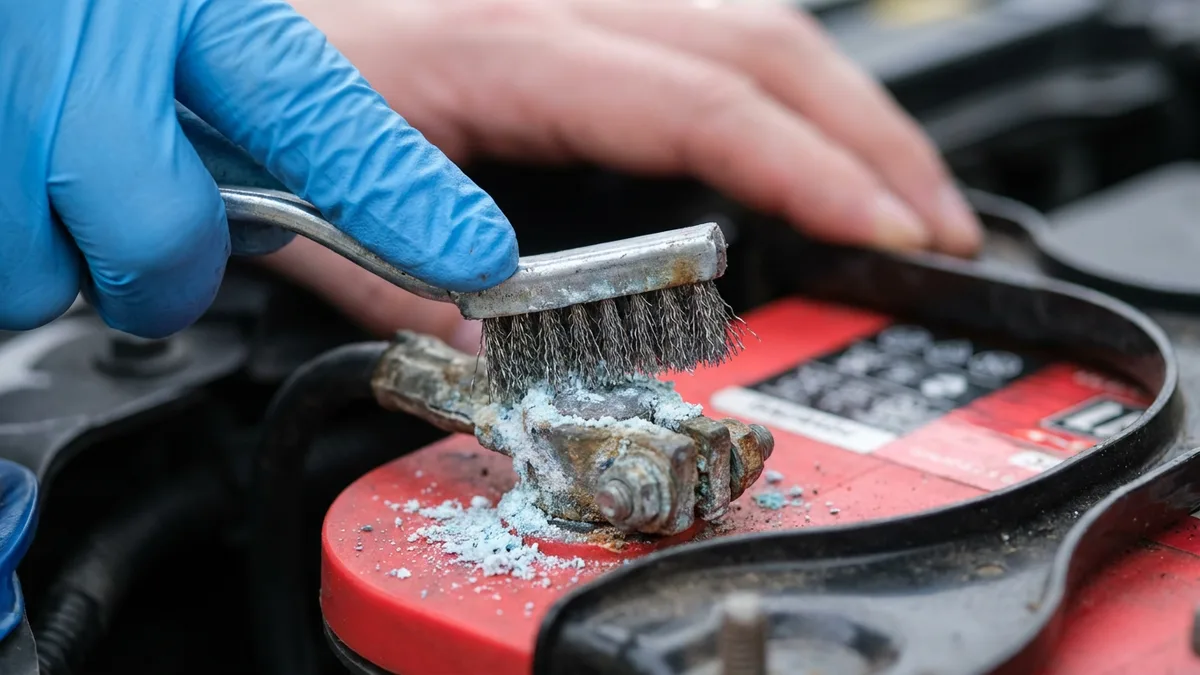
Lift the bonnet on many cars in Phuket and you’ll find it quickly: a crusty white, blue, or greenish buildup clustered around the battery terminals. It looks like a small chemical explosion froze in place. To some people it’s alarming; to others, it’s invisible because they’ve never known to look. Either way, it matters — terminal corrosion creates electrical resistance that directly causes hard starts, dimmed lights, and in worse cases, a car that won’t start at all.
The good news is that cleaning corroded battery terminals is a straightforward job that takes about 20 minutes and costs almost nothing. Here’s how to do it safely and properly, and how to keep corrosion from coming back so quickly.
What Causes Battery Terminal Corrosion?
Battery corrosion isn’t random rust. It’s a chemical reaction specific to lead-acid batteries:
During charging and discharging, the battery vents small amounts of hydrogen and sulfuric acid vapor through the vent caps or seals. These gases escape around the terminals, where they react with copper, lead, and ambient moisture to form lead sulfate compounds and copper sulfate — the white, powdery or crusty deposits you see.
A few things accelerate this process:
- Overcharging forces the battery to vent more gas than normal, depositing more corrosive material around the terminals. An alternator with a failing voltage regulator is a frequent cause.
- Undercharging causes the battery to sulfate internally, and some of that chemistry finds its way to the terminals.
- Humidity is a major catalyst. Phuket’s year-round relative humidity (typically 70–80%) gives those acid vapors far more moisture to react with than in a drier climate. Expect to see corrosion develop faster here than you would in Europe or North America.
- Heat accelerates all chemical reactions. Under-bonnet temperatures in Phuket parked in direct sun can exceed 60 °C, which significantly speeds up the process.
Corrosion on the positive terminal usually indicates overcharging; corrosion concentrated on the negative terminal more often points to undercharging or a poor ground connection.
What You’ll Need
- Baking soda (sodium bicarbonate) — available at any Lotus’s, Big C, or Makro
- Water (warm works slightly better than cold)
- An old toothbrush or wire brush
- Safety glasses
- Rubber or latex gloves
- Clean rags or paper towels
- Petroleum jelly (Vaseline) or battery terminal grease — for post-cleaning protection
- Wrench (10 mm fits most terminal bolts in Japanese and Korean cars)
Optional but helpful: a small spray bottle, a bowl, and terminal protector felt washers (available at auto parts shops).
Step-by-Step: How to Clean Battery Terminals
Step 1: Safety First
Put on your safety glasses and gloves before touching anything. Battery corrosion is mildly caustic and can irritate skin and eyes. Work in a well-ventilated area — outdoors or with the garage door fully open. Never smoke near a battery, and keep open flames away.
Step 2: Turn Off the Engine
The engine must be completely off. Remove the key from the ignition. If you have a push-start vehicle, ensure it is fully powered down.
Step 3: Disconnect the Battery (Negative First)
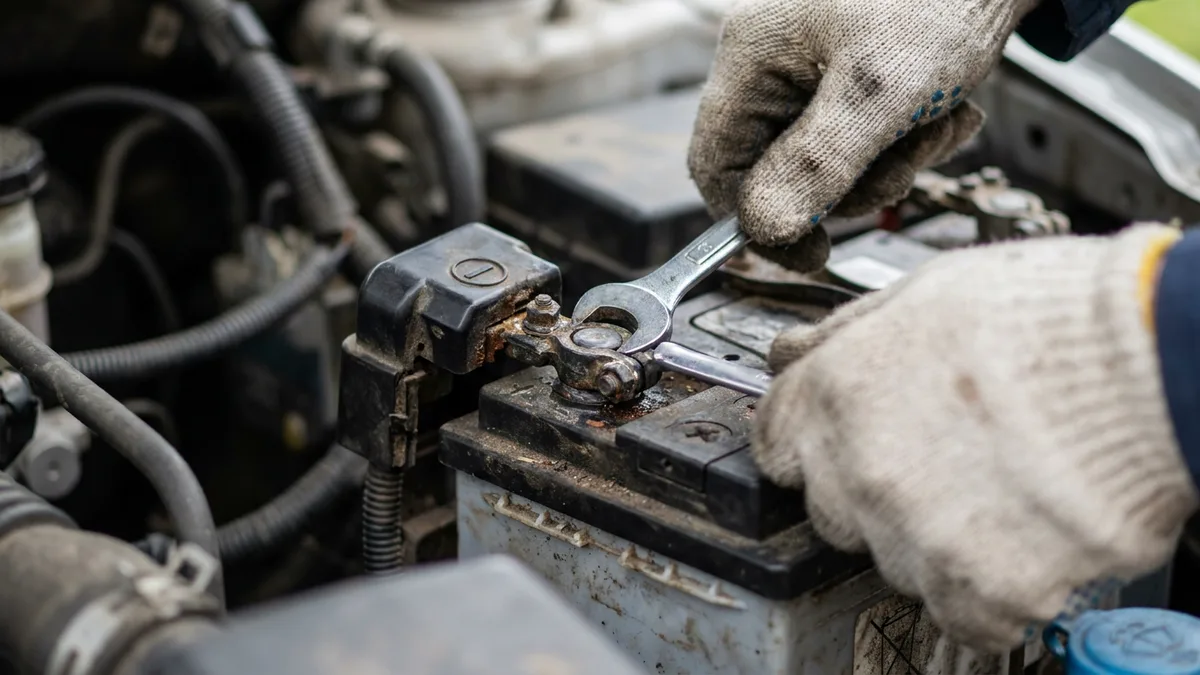
Using your wrench, loosen the bolt on the negative terminal (marked – or black cable) first, then remove the positive terminal (marked + or red cable). Always disconnect negative first to avoid short circuits. For a more detailed walkthrough of safe disconnection procedure, see our guide on how to disconnect a car battery safely.
Step 4: Inspect the Terminals and Cables
Before cleaning, look at the condition of the cable ends and the battery posts. If the cable ends are severely corroded down to bare copper threads, or if the battery posts are deeply pitted, cleaning may not be enough — those components may need replacement.
Step 5: Make the Baking Soda Solution
Mix one tablespoon of baking soda with one cup of warm water. Stir until dissolved. The baking soda neutralizes the acid in the corrosion — you’ll see fizzing when it contacts the deposits, which means it’s working.
Step 6: Apply and Scrub
Pour or spray the baking-soda solution directly onto the corroded terminals and cable clamps. Let it sit for 2–3 minutes. Then scrub vigorously with your toothbrush or wire brush, working the solution into all the crevices. The fizzing will slow as the corrosion is neutralized.
For stubborn buildup, apply a second round of solution and scrub again. A wire brush or battery terminal brush (sold at auto parts stores) reaches into tight areas better than a toothbrush.
Step 7: Rinse and Dry Thoroughly
Rinse the cleaned terminals and cable ends with clean water — use a small amount so runoff doesn’t reach the engine’s electrical connectors. Dry everything thoroughly with clean rags or paper towels. Moisture left behind defeats the purpose of cleaning.
Step 8: Inspect for Damage
With the corrosion removed, take a closer look. The battery posts should be smooth and solid. The cable clamps should grip the posts without play. If you see cracks in the cable insulation, heavily pitted posts, or a clamp that won’t tighten properly, those issues should be addressed before reinstalling.
Step 9: Apply Protective Grease
Before reconnecting, apply a thin coat of petroleum jelly or dedicated battery terminal grease to both the posts and the inside of the cable clamps. This creates a barrier between the metal and the atmosphere, significantly slowing the return of corrosion. You can also fit felt terminal washers soaked in anti-corrosion fluid, which sit between the terminal clamp and the battery post for ongoing protection.
Step 10: Reconnect — Positive First
Reconnect in the reverse order of removal: positive terminal first, then negative. Tighten the clamp bolts firmly so there’s no movement, but don’t overtighten and crack the terminal post. A connection that can be wiggled by hand is too loose.
Step 11: Test the Car
Start the engine and verify everything functions normally. If you had symptoms like slow cranking or dim lights that you suspected were corrosion-related, they should be noticeably improved or gone entirely.
Preventing Corrosion From Coming Back
Cleaning the terminals is half the job. Prevention extends the interval significantly:
- Petroleum jelly or terminal grease after every cleaning (as noted above)
- Anti-corrosion terminal washers — these small felt discs treated with a corrosion inhibitor sit around the battery post under the clamp
- Regular inspection every 3–4 months in Phuket’s climate — catch light surface oxidation before it becomes heavy buildup
- Address overcharging — if corrosion returns very quickly (within weeks), have your alternator’s voltage output checked; overcharging is a common cause of rapid re-corrosion
When Cleaning Isn’t Enough
If the corrosion was so severe that the cable clamps are cracked or the battery posts are deeply eroded, cleaning alone won’t restore reliable electrical contact. The battery may also have internal damage from the underlying overcharging or undercharging that caused the heavy corrosion in the first place.
Our battery testing service can assess whether the battery still holds adequate capacity after a significant corrosion event. And if the battery has degraded or the terminals are beyond cleaning, we carry replacement batteries and cables for an on-site car battery replacement.
Check out our guide on signs your car battery is dying if you’re seeing other symptoms alongside the corrosion — sometimes the corrosion is a symptom of a bigger issue, not just a standalone maintenance item.
If the terminals are corroded and you’re not comfortable cleaning them yourself, or if you want a full health check done at the same time, give us a call — we carry everything needed and come to your location anywhere in Phuket.