Disconnecting a car battery seems simple enough — two bolts, two cables, done. But done in the wrong order or with the wrong tool touching the wrong thing, you can create a short circuit serious enough to cause sparks, melt your wrench, or in rare cases trigger a hydrogen gas explosion near the battery. This guide explains how to disconnect a car battery safely, why the sequence matters, and how to protect your car’s electronics while you do it.
Why the Order Matters: Negative First, Always
The single most important rule when disconnecting a car battery is: negative terminal first. Here’s why.
Your car’s body and chassis act as the ground return for every electrical circuit in the vehicle. The negative battery terminal is connected directly to that chassis ground. The positive terminal is connected to all your car’s electrical systems through fuses.
If you remove the positive terminal first, the circuit is still live — the battery is still grounded through the chassis. Now if your wrench slips while you’re working on the positive cable and touches any piece of metal on the car (the chassis, the engine block, a bolt head), you’ve created a direct short circuit from battery positive to ground. You’ll get a flash of sparks, a potentially melted wrench tip, and a risk of igniting hydrogen gas that naturally vents from the battery.
Remove the negative first, and the ground connection is broken. The circuit is dead. Your wrench can touch the car body all it wants — nothing will happen.
What You’ll Need
- 10 mm combination wrench (most Japanese and Korean cars) or the correct size for your vehicle — check before you start
- Memory-saver device (optional but recommended for modern cars with ECUs)
- Safety glasses (a sensible precaution near a battery)
- Gloves (batteries contain sulfuric acid — even a sealed battery can leak if damaged)
Step-by-Step: How to Disconnect a Car Battery
Step 1 — Turn off the engine and all accessories
The engine must be completely off. Turn off your lights, radio, and AC. Remove the key from the ignition (or ensure keyless systems are fully powered down). Give the car 30 seconds to settle.
Step 2 — Plug in a memory-saver (if using one)
A memory-saver is a small device that plugs into your car’s OBD-II port (usually under the dashboard, driver’s side) and connects to a separate 12V battery or power pack. It maintains a trickle of power to the car’s electronics while the main battery is disconnected, preserving your radio codes, ECU learned values, and window calibration.
This step is optional, but strongly recommended for any car made after 2000 with an electronic control unit. Skipping it means your car’s ECU will reset — it will relearn over time, but for the first few hundred kilometres you may notice slightly rough idling or different shift behavior in an automatic transmission.
Step 3 — Locate the negative terminal
Battery terminals are labeled: – is negative (usually a black cable and black cover); + is positive (usually a red cable and red cover). The negative cable runs to the car’s bodywork. The positive cable runs toward the fuse box and electrical systems.
Step 4 — Loosen and remove the negative clamp
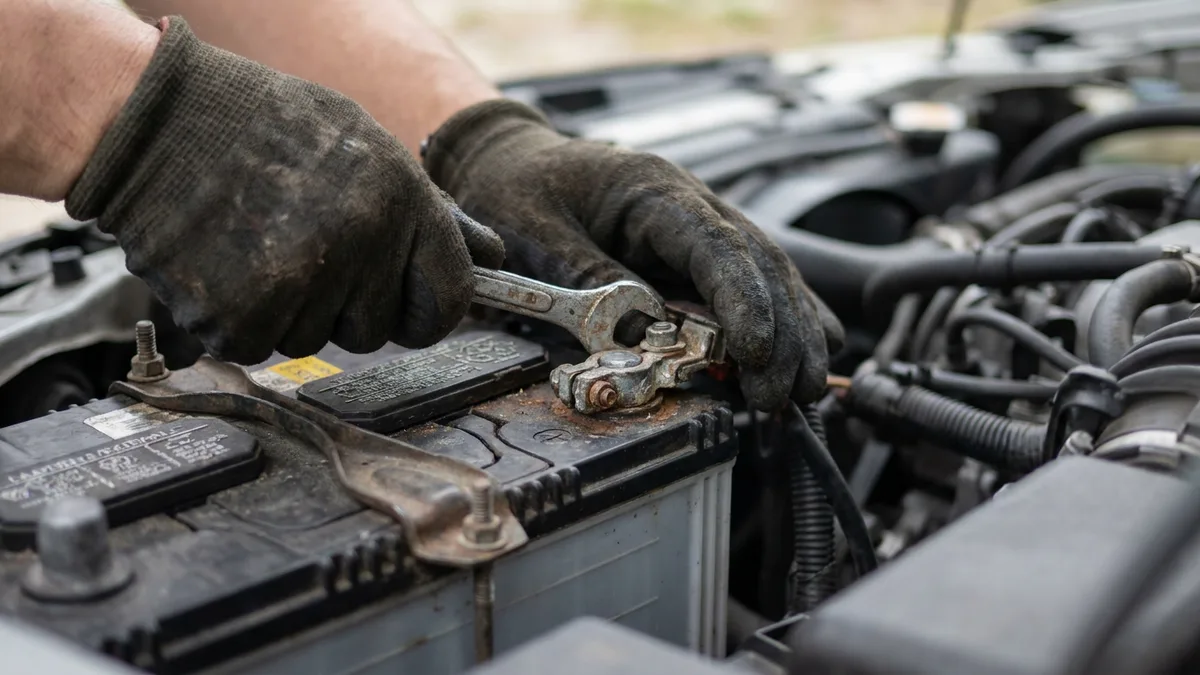
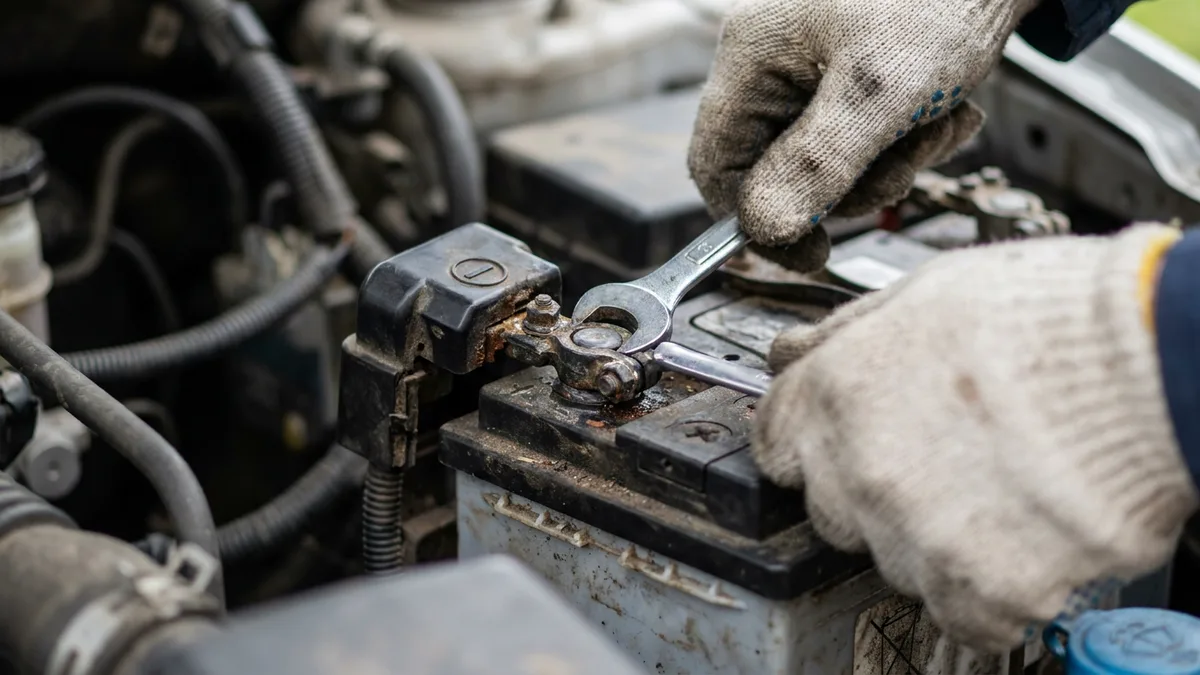
Place your wrench on the nut securing the negative clamp to the terminal post. Turn counterclockwise to loosen. Once loose, wiggle the clamp off the post and move the cable well clear — push it to the side so it can’t accidentally touch the terminal again while you work.
Step 5 — Loosen and remove the positive clamp
Only now, with the ground connection broken, do you remove the positive terminal. Same process: loosen the nut counterclockwise, wiggle the clamp off, and move the cable clear. Cover the positive terminal with a rag or a terminal cap if one is available — this prevents accidental contact.
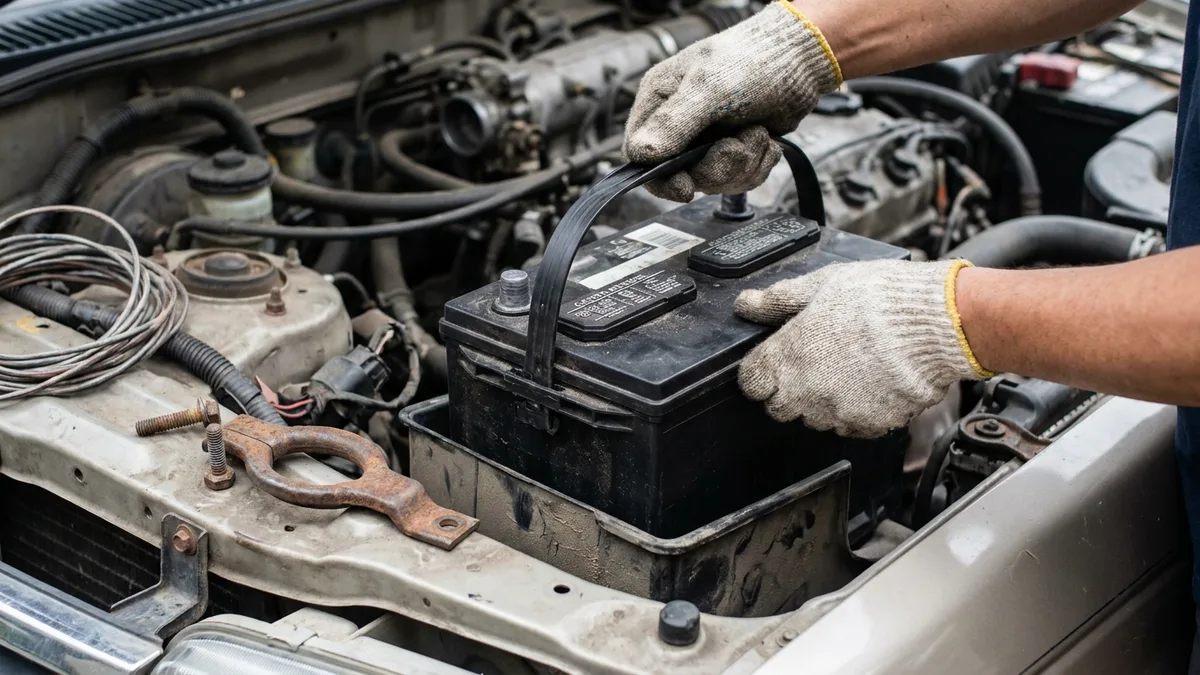
The battery is now fully disconnected and safe to work on.
Common Mistakes to Avoid
Leaving keys in the ignition. Some cars draw power even with the key out but in the ignition barrel. Full removal (or ensuring a keyless system is fully off) prevents phantom drain that can confuse diagnostics.
Using the wrong wrench size. A wrench that doesn’t fit properly can round off the nut, making reconnection difficult. Confirm the terminal nut size before you start — 10 mm is standard on Japanese vehicles, but European cars often use 8 mm or 13 mm.
Letting the disconnected negative cable dangle near the terminal. If the cable swings back and touches the negative post while you’re working on the positive, the circuit is re-energized. Tuck it safely away.
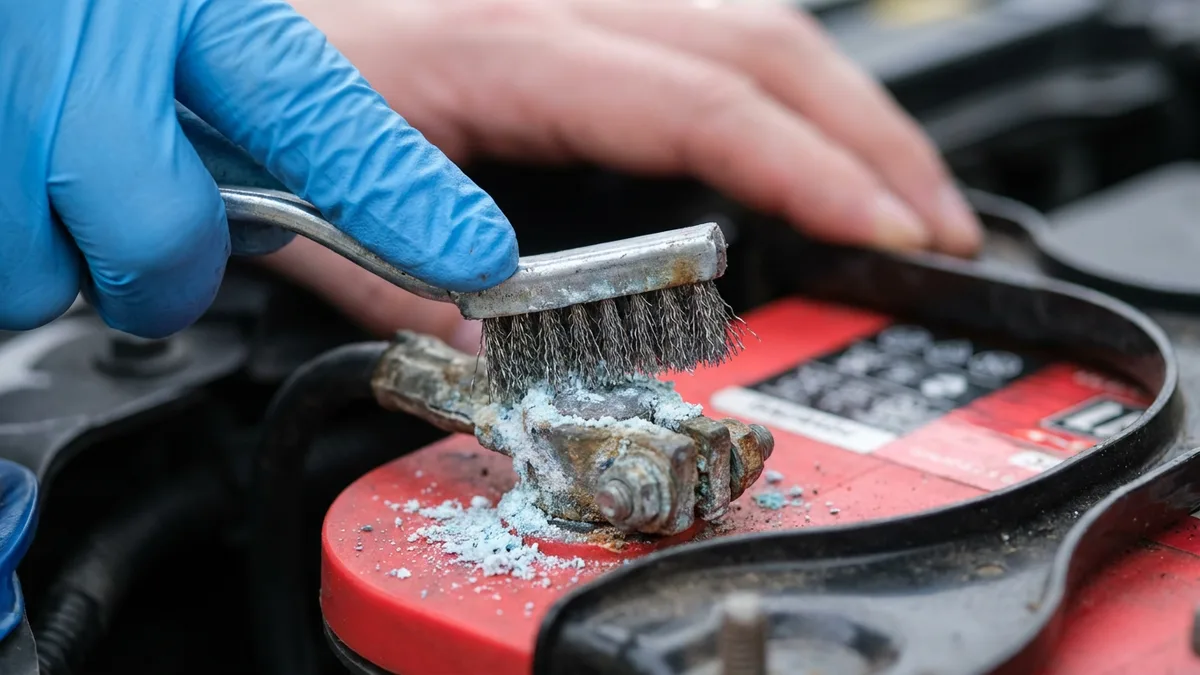
Forcing a stubborn clamp. Corrosion can bond the clamp to the battery post. Never lever a clamp off with a screwdriver jammed under it — you risk cracking the battery case, which can cause acid leaks. Use a proper clamp puller tool or work the clamp gently back and forth.
Not wearing eye protection near a visibly damaged battery. Cracked or bulging batteries can release sulfuric acid mist. If your battery looks physically damaged, wear glasses before getting close.
After Disconnecting: What Resets on Your Car
When you disconnect the battery without a memory-saver, expect these to reset:
- Radio/stereo — may require a security code to reactivate
- Power windows — may lose their up/down limit calibration (usually fixed by holding the window button for a few seconds)
- ECU fuel and idle trims — will relearn automatically over a few drive cycles
- Trip computer and clock — will need to be reset manually
- Automatic transmission shift points — may feel slightly different for the first few hundred kilometres
These are inconveniences, not damage. Your car will perform normally within a short time of regular driving.
When to Call a Professional
If you’re disconnecting the battery in order to replace it, and you’re not confident about the reconnection steps or identifying the correct replacement battery, our car battery replacement service handles everything — removal, disposal, installation, and a post-fit check — at your location anywhere in Phuket.
For the reconnection side of the job, read our guide on how to remove and install a car battery, which walks through the full swap process from start to finish including how to clean the terminals before the new battery goes in.