Knowing how to change a car battery is a practical skill that every driver can learn, and the basic process is straightforward once you understand the steps and the reasons behind them. Whether your battery has finally given up after a couple of years in Phuket’s heat, or you’re replacing it proactively before a long trip, this guide walks you through the complete process — from gathering tools to starting the engine after the swap.
If you’re short on time or not confident handling the job yourself, our car battery replacement service comes to you anywhere in Phuket, 24 hours a day. But if you want to do it yourself, here’s everything you need to know.
What You’ll Need Before You Start
Gather these tools and supplies before opening the bonnet:
- 10mm or 12mm wrench or socket (most battery terminal bolts are one of these sizes)
- Battery memory saver or OBD2 backup power device (highly recommended for modern cars)
- Safety glasses and nitrile gloves
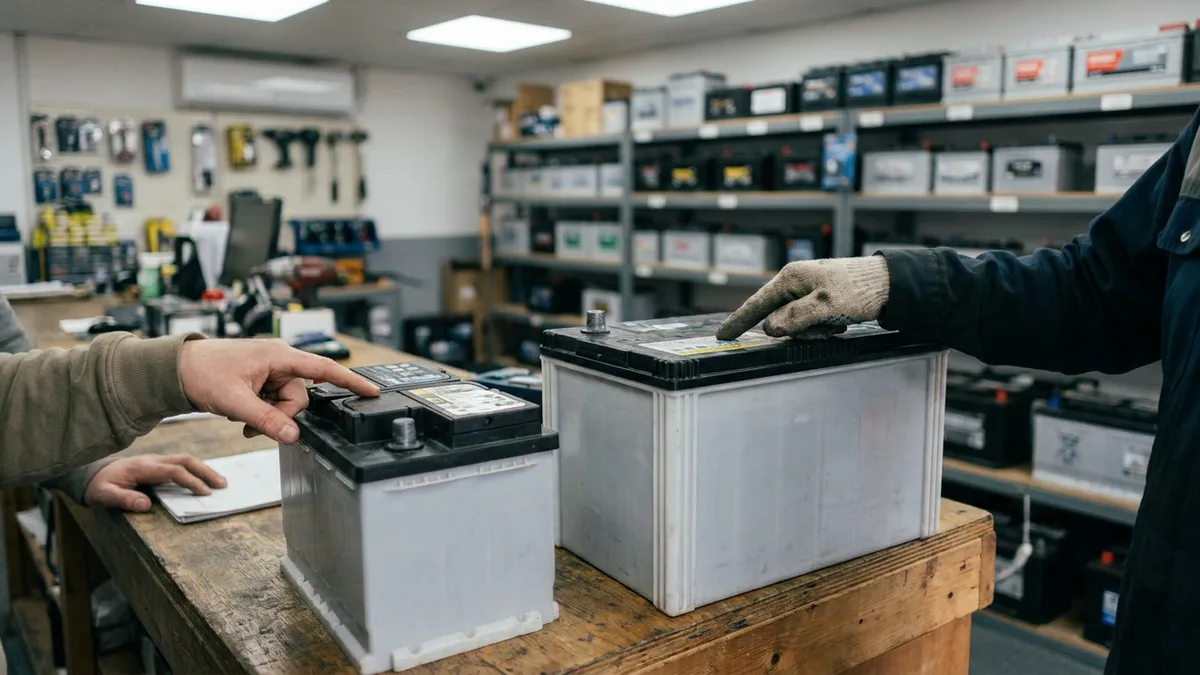
- Replacement battery of the correct group size and specification
- Battery terminal brush or sandpaper
- Petroleum jelly or terminal protector spray
- Clean rag
- Battery terminal puller (optional, but useful if terminals are stuck)
In Phuket, AutoZone equivalents include Homepro Auto section, B-Quik, and Caltex service stations for basic tools. Or bring a simple socket set from the hardware section at Robinson or Lotus’s.
Step 1: Safety First — Cool Down and Power Down
Work with the engine off and fully cooled down if possible. In Phuket’s heat, an engine that’s been running will have an extremely hot bay — waiting 30–60 minutes after a drive makes the job safer and more comfortable.
Turn off all accessories: AC, lights, radio, and any dashcams or phone chargers. Remove the key from the ignition. This ensures no unexpected electrical load when you disconnect.
Put on your safety glasses and gloves. Car batteries contain sulfuric acid and can produce small amounts of hydrogen gas — simple precautions eliminate virtually all risk.
Step 2: Connect a Memory Saver (Don’t Skip This on Modern Cars)
This step is optional on older vehicles but strongly recommended for any car made after roughly 2010. A memory saver is a small device that plugs into the OBD2 port (usually under the dashboard, driver’s side) and supplies low-level voltage from a 9V battery or USB power bank to maintain the car’s computers while the battery is disconnected.
Without one, disconnecting the battery may cause:
- Loss of ECU adaptive settings (affecting fuel mixture, idle quality)
- Power windows needing recalibration
- Sunroof reset required
- Anti-theft radio lock-out (requiring a code)
- Clock and radio presets reset
- On some vehicles: throttle body relearn needed before the engine will idle properly
A memory saver costs a few hundred baht and saves potential headaches. Connect it before touching any battery terminals.
Step 3: Open the Bonnet and Locate the Battery
On most cars, the battery sits in the engine bay, usually toward one side at the front. It’s a rectangular black box with two cables (red/positive and black/negative) connected to terminal posts.
Note: On some vehicles — particularly some BMWs, Audis, Mercedes-Benz, and certain Mazdas — the battery is mounted in the boot/trunk, under the rear seat, or in another non-standard location. Check your owner’s manual if you can’t locate it in the engine bay. These locations can complicate DIY replacement considerably.
Step 4: Disconnect the Negative Terminal First
This is the most important rule of the job. The negative terminal is marked with a minus sign (−) and typically has a black cable. The positive terminal has a plus sign (+) and usually a red cable (though both may be black on some vehicles).
Always disconnect negative first.
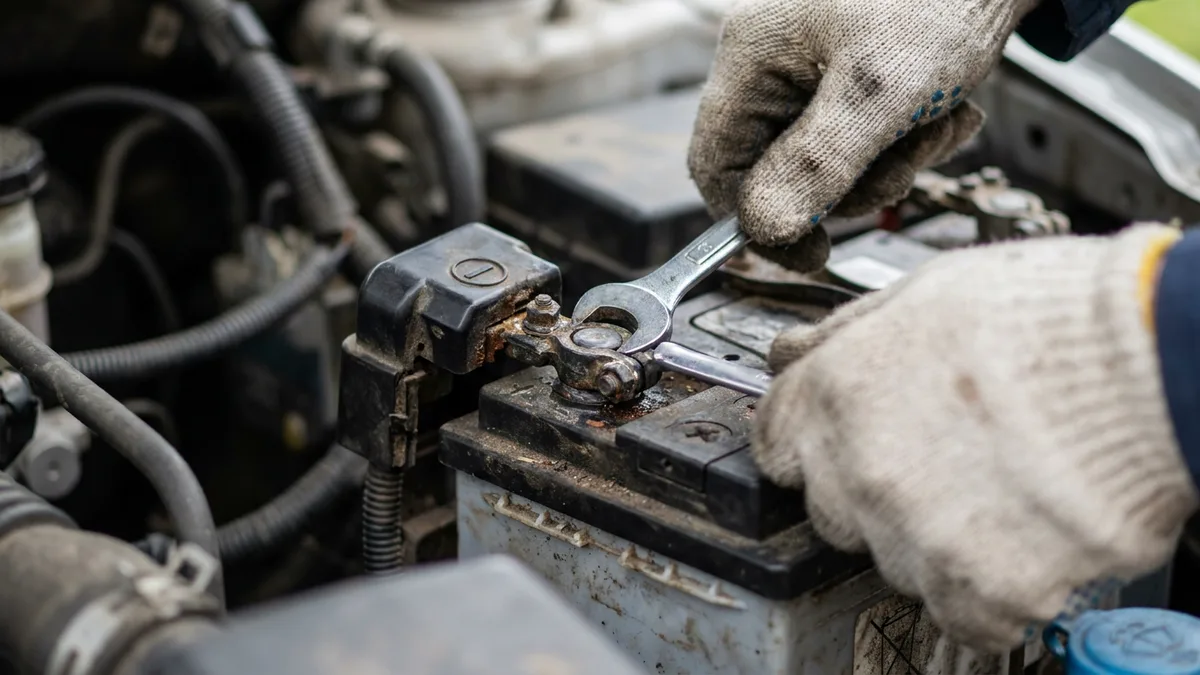
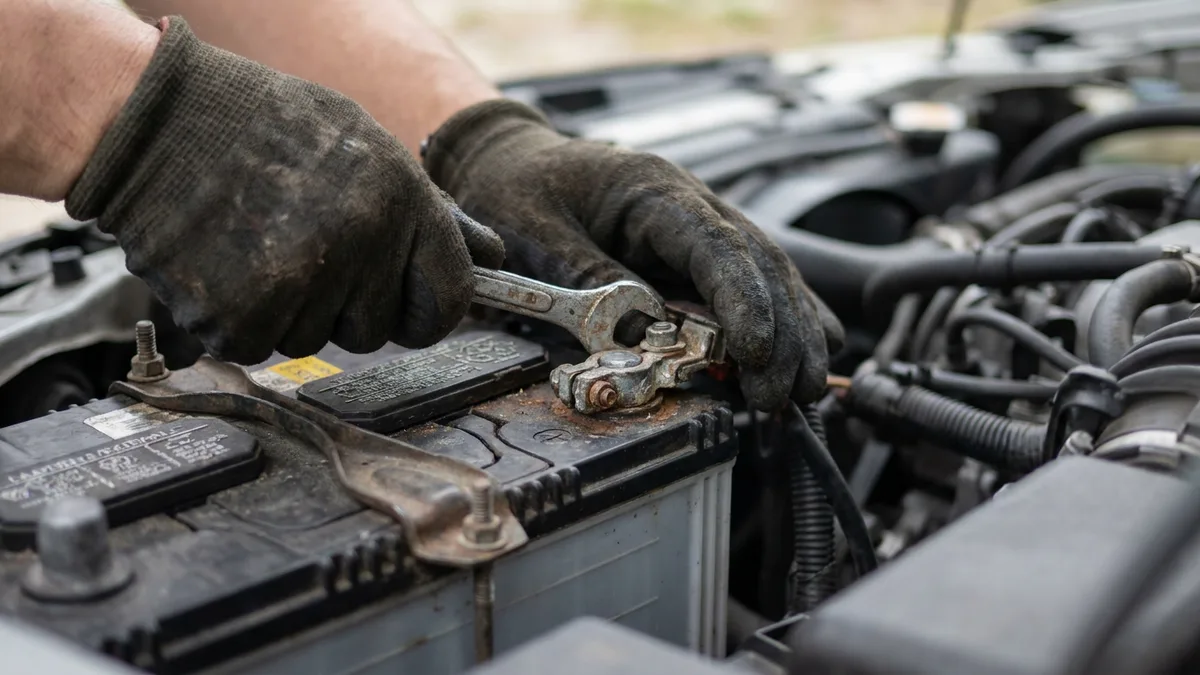
Loosen the clamp bolt with your wrench until the terminal is free, then pull the cable off the post. Tuck it to the side where it cannot accidentally touch the battery post — a piece of tape helps here.
Why negative first? The car’s metal body is connected to the negative terminal (this is called grounding). If you loosen the positive first and your wrench accidentally touches the car body, you create a short circuit. Starting with the negative breaks the circuit safely.
Step 5: Disconnect the Positive Terminal
Now loosen and remove the positive (red, marked +) terminal clamp. Tuck it away on the other side, clear of the battery and clear of any metal parts.
At this point, the battery is completely isolated from the car’s electrical system.
Step 6: Remove the Battery Hold-Down
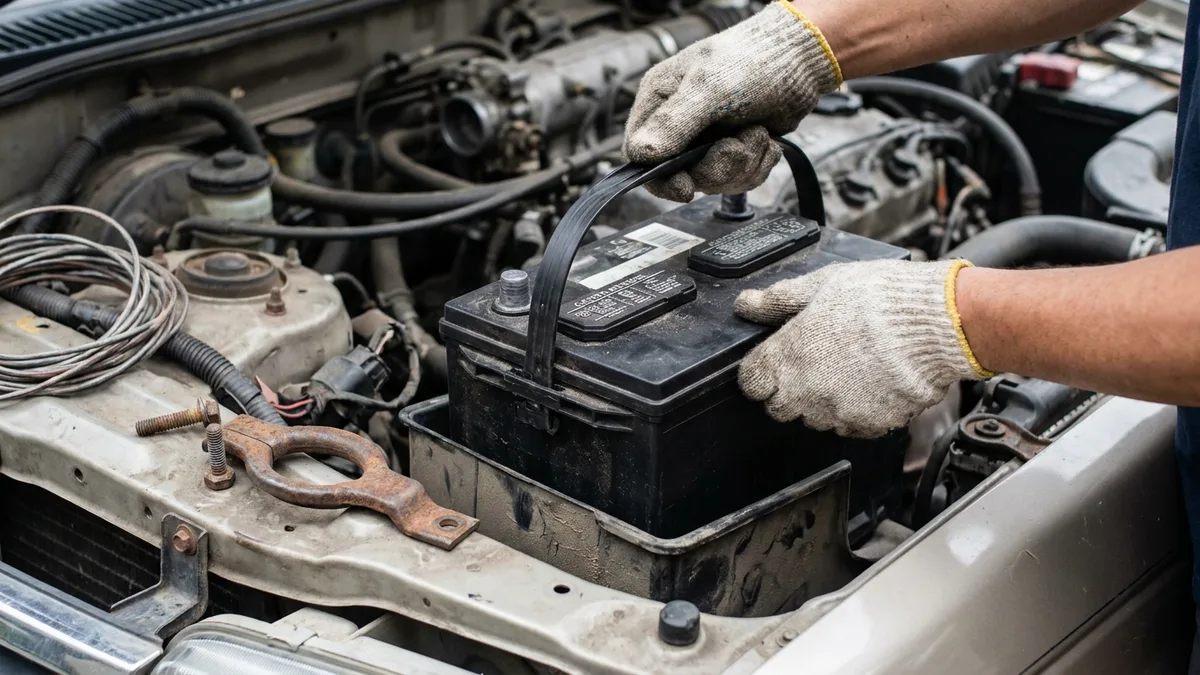
Most batteries are secured by a clamp bar or bracket at the base. Locate the hold-down hardware — usually a single bolt, a J-bolt, or a small metal bar — and remove it completely. Keep the hardware somewhere you won’t lose it; you’ll need it to secure the new battery.
Step 7: Lift Out the Old Battery
Car batteries are heavy — a standard 12V lead-acid battery typically weighs 12–20 kg depending on size. Lift it straight up and out of the battery tray, keeping it level. Tilting a flooded battery too far can cause electrolyte to leak through the vents.
Set the old battery on a flat surface, away from heat and direct sunlight. In Phuket, most battery suppliers and auto shops will accept old batteries for recycling — do not throw them in regular trash, as lead and acid are serious environmental hazards.
Step 8: Clean the Battery Tray and Terminals
Before installing the new battery, take a few minutes to clean:
- The battery tray — wipe out any corrosion residue, dirt, or moisture
- The cable terminals — use a battery terminal brush or a little baking-soda paste to scrub off any corrosion until the metal is bright and shiny
- The battery posts area if there’s visible residue
This ensures a solid electrical connection on the new battery from day one.
Step 9: Install the New Battery
Place the new battery into the tray in the same orientation as the old one — positive post on the same side, negative on the same side. This ensures the cables reach their correct terminals.
Reattach the hold-down bracket or clamp and tighten securely. The battery should not be able to move or rock when you push on it. A loose battery in Phuket’s pothole-heavy roads can vibrate and crack its case.
Apply a thin smear of petroleum jelly to the terminal posts before connecting the cables — this helps prevent future corrosion.
Step 10: Reconnect Positive First, Then Negative
Now reverse the disconnection order. Attach and tighten the positive terminal first, then the negative terminal. Tighten each clamp bolt firmly — a loose connection causes intermittent problems and corrosion.
Give each cable a gentle tug to confirm it’s secure.
Step 11: Test Before Closing the Bonnet
Remove the memory saver if you used one. Start the engine. It should start promptly and run normally. Let it idle for a minute and check that the battery warning light is not illuminated on the dashboard.
If the idle is rough or the engine stumbles, it may need an ECU throttle relearn — typically done by driving normally for 10–15 minutes or following a specific procedure in your owner’s manual.
Check that your clock is set (or still correct if you used a memory saver), power windows work fully, and no unexpected warning lights remain on. Close the bonnet.
When to Let a Professional Handle It
DIY battery replacement is perfectly manageable on most common vehicles. However, consider calling a professional if:
- The battery is in a non-standard location (boot, under seat, under a panel)
- Your car is a hybrid or EV — high-voltage systems require special handling
- You see significant corrosion or damage to cables or the battery tray
- The hold-down is seized and won’t come loose without risk of damage
- The car still won’t start after installation — it may not be a battery issue after all
In Phuket, where heat and humidity can complicate the job and where getting stuck means sitting in 35°C heat, there’s no shame in opting for a professional mobile battery replacement that comes to you. Before you start a DIY job, it’s also worth having a battery test done to confirm the battery is actually the problem — a good test takes the guesswork out of the equation.
If you do tackle the job yourself, work in the shade, work cool (morning is best), and take your time — there’s nothing here that needs to be rushed.