Swapping a car battery is one of the more accessible DIY tasks in vehicle maintenance — no specialized tools, no complicated procedures, just a wrench, some care, and the right sequence. The sequence is the key part. Do things out of order and you risk a short circuit, a ruined battery, or at minimum a face-full of irritating acid mist. Follow these steps and the job is straightforward.
Before You Start: Tools and Preparation
Gather everything before you open the bonnet:
- Correct-size wrench or socket — 10 mm for most Japanese/Korean cars; check your vehicle’s terminal nut size
- Battery terminal brush or fine wire brush — to clean corrosion from the tray and connectors
- Petroleum jelly or battery terminal grease — to protect the new terminal connections
- Gloves and safety glasses — mandatory; battery acid is dilute but still corrosive
- Memory-saver device (optional) — plugs into the OBD-II port to preserve ECU settings during the swap
- New replacement battery — confirmed correct group size, Ah rating, and terminal layout for your vehicle
Park on a flat surface, engage the parking brake, and ensure the engine is completely off. Remove the key.
Part 1 — Removing the Old Battery
Step 1 — Disconnect the negative terminal
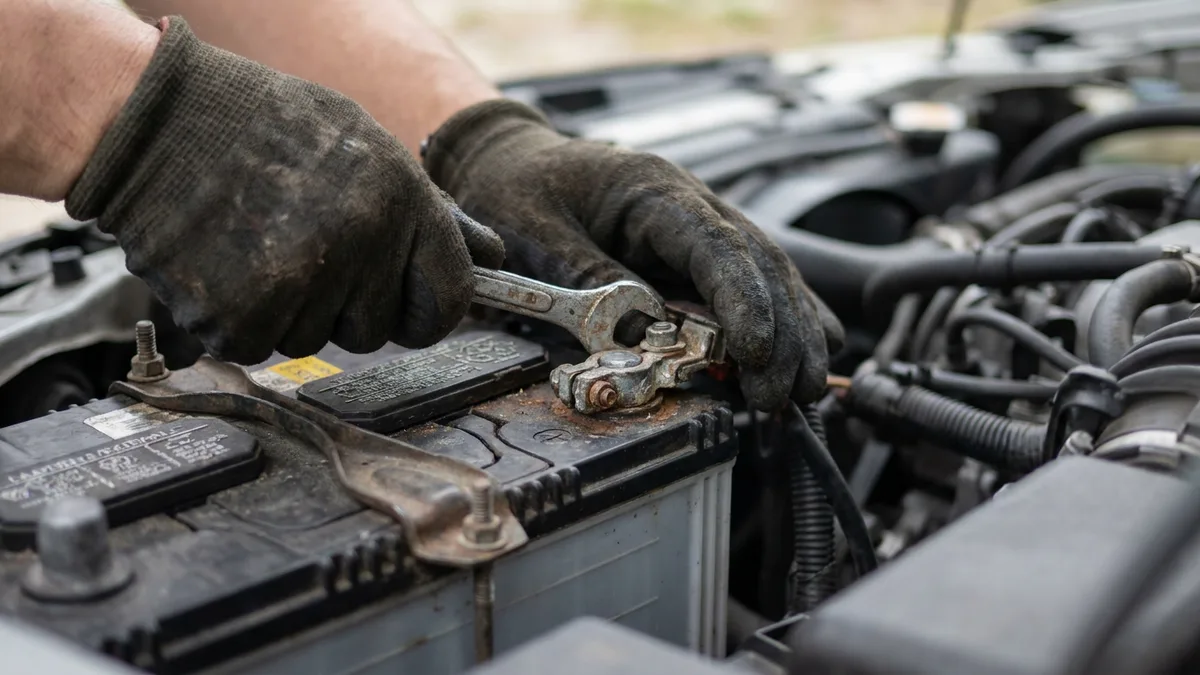
Start with the negative (–) terminal. Loosen the clamp nut counterclockwise, wiggle the clamp off the post, and push the cable well clear of the battery. This breaks the ground connection and makes working on the positive side safe.
If you haven’t already, read our full guide on how to disconnect a car battery safely for the complete explanation of why negative-first is non-negotiable.
Step 2 — Disconnect the positive terminal
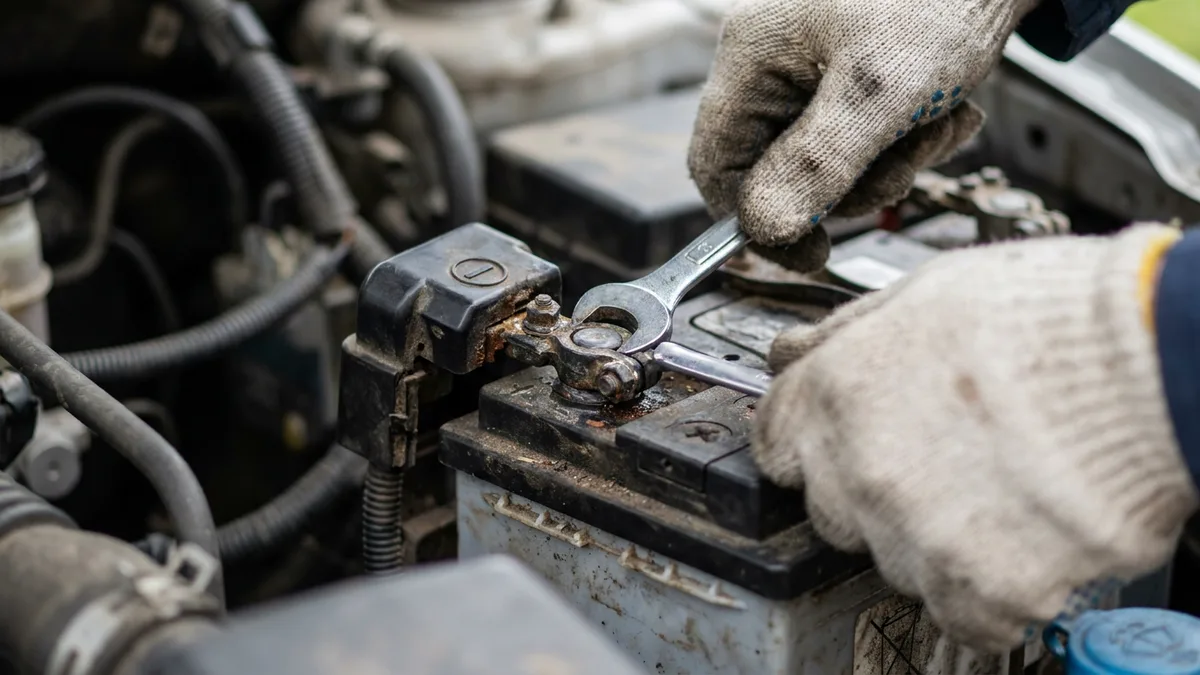
With the ground broken, remove the positive (+) terminal in the same way. Loosen the clamp nut, wiggle the clamp free, and drape the cable away from the battery. Cover the positive terminal end with a cloth if you’re concerned about accidental contact.
Step 3 — Remove the hold-down bracket
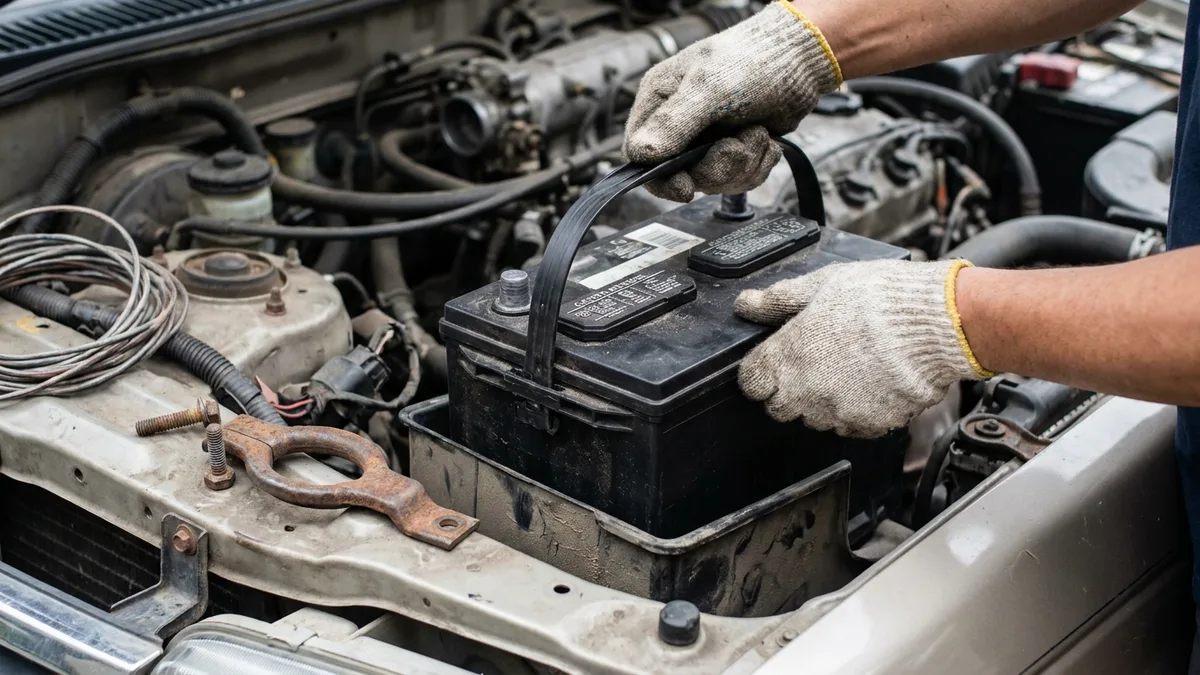
Look at the base of the battery. There will be a metal bar, strap, or L-shaped bracket secured by one or two bolts that anchors the battery to the tray. Loosen and remove these bolts (keep them — you’ll need them for the new battery). Lift the bracket free.
Some vehicles secure the battery differently — with a clamp across the top instead of the base, or with a single long bolt through a bracket on the side. The principle is the same: find the fastener, remove it, set it aside safely.
Step 4 — Lift the battery out
Car batteries are heavy — typically 12 to 20 kg. Grip the battery firmly using both hands on opposite sides of the case (most batteries have a built-in handle or recessed grip). Keep it perfectly level and upright as you lift. Tilting it can cause electrolyte fluid to contact the vent caps and spray out.
Lift with your legs. Set the old battery on the ground, not on a surface that could be damaged by any residual acid on the base.
Step 5 — Inspect the battery tray
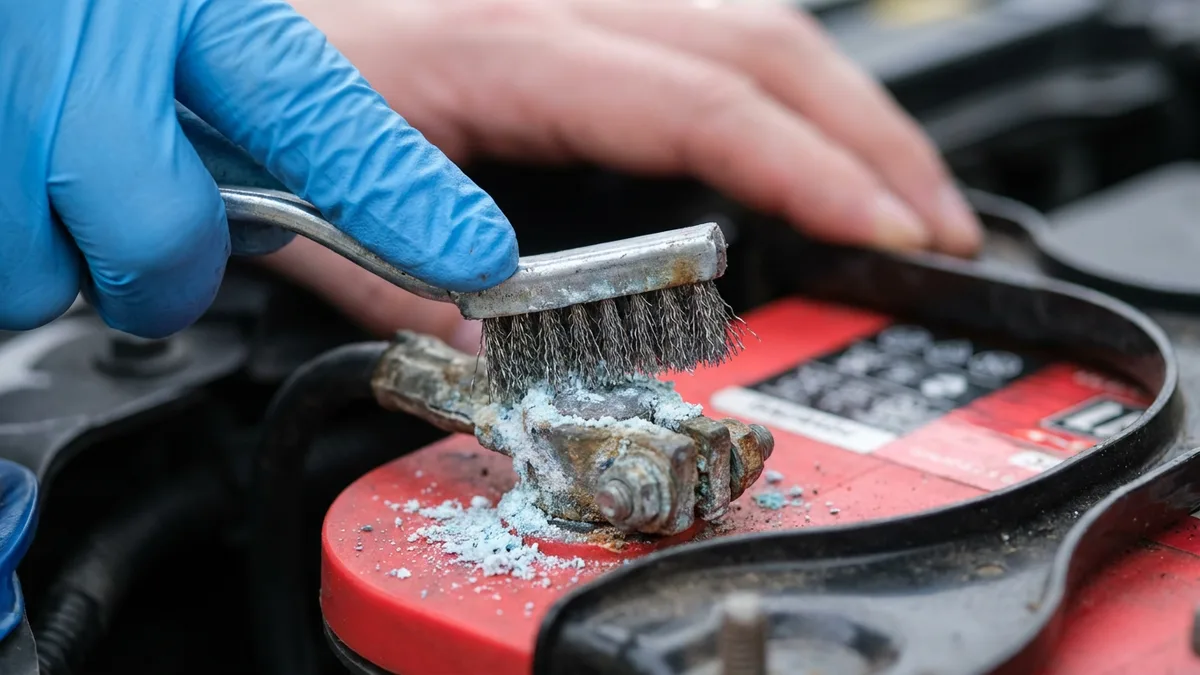
Before putting the new battery in, check the tray for corrosion (white or bluish powder), cracks, or debris. Wipe it clean with a damp cloth. If there’s significant corrosion, neutralize it with a small amount of baking soda dissolved in water, then wipe dry. The tray should be clean and dry before the new battery sits in it.
Part 2 — Installing the New Battery
Step 6 — Set the new battery in the tray
Lower the new battery into position, keeping it level. It should sit squarely in the tray with no rocking. Confirm that the terminal posts are oriented correctly — your positive cable must reach the positive post, and negative must reach negative, without stretching.
Step 7 — Reinstall the hold-down bracket
This step is skipped more often than it should be — don’t skip it. Refit the hold-down bracket and tighten the securing bolts until the battery is firmly anchored. The battery must not move when you push it by hand. Road vibration can cause a loose battery to arc against engine bay components or break its own terminals.
Step 8 — Clean the terminal connectors
Before connecting the cables, use a battery terminal brush or fine wire brush to clean the inside of both cable clamps. Remove any green or white corrosion buildup. Clean connectors mean lower resistance and a better electrical connection.
Apply a small amount of petroleum jelly or terminal grease to each battery post. This creates a protective coating that slows future corrosion — a particularly valuable step in Phuket’s humid, salty coastal air.
Step 9 — Connect the positive terminal first
This is the reverse of disconnection. Slide the positive (+) clamp onto the positive post and tighten the nut clockwise until the clamp is snug and cannot rotate by hand. Do not overtighten — you don’t want to crack the post.
Positive first, while the ground is still disconnected, means the circuit is open. Your wrench touching the car body at this point: harmless.
Step 10 — Connect the negative terminal
Now connect the negative (–) clamp to the negative post and tighten. The circuit is now complete. Remove your memory-saver device if you used one.
Post-Installation Checks
Once the battery is connected, do a quick verification before starting the engine:
Check for movement. Push the battery firmly in all directions. It should not shift at all.
Check for corrosion on the connections. The clamps should sit flush on the posts with no gaps.
Start the engine. It should crank and start normally. If it cranks slowly or not at all, something is wrong — check that both terminals are fully tightened.
Check electrical systems. Lights, radio (may need the code re-entered), AC, and windows should all function. Power windows may need recalibration: hold the window button in the up position for 5 seconds to re-establish the limit sensor.
Check the dashboard. A battery or check-engine light that stays on after startup warrants investigation. A brief battery light that goes off within a minute is normal as the system recognizes the new battery.
When to Get Professional Help
If the battery tray is severely corroded, if the cable connectors are cracked or brittle, or if you’re not confident about the correct replacement battery for your vehicle, it’s worth calling in a professional. Our car battery replacement service covers the full job — correct part selection, safe removal, clean installation, and a post-fit systems check — at your location anywhere in Phuket, day or night.